Side note - please ignore the fat lip. Sadly, it's pretty typical. He has no fear and gets hurt ALL of the time =(
Tuesday, October 19, 2010
Outside With Mama
The other day on Facebook, I announced that I had just had one of the most fun days of my life with Carter in our backyard. I wasn't exaagerating at all. It truly was one of the best afternoons of my life so far. The girls were at school, and it was just me and my little man. Carter had gotten restless so I thought we'd go outside and get some fresh air. Carter LOVES to be outside. Loves it more than anything. The minute he hits the ground outside his whole demeanor changes and he just lights up. So sweet.
We didn't do anything special - just played with each other, laughed, ran and swung on the swing. Carter spent most of his time examining pebbles (the way he says the word "pebbles" is truly the cutest thing I think I've ever heard) and acorns, and when he wasn't doing that he was running the length of our yard. I love the way he runs - all loosey-goosey, like he's going to fall any minute, but with complete joy and abandon. Carter took an armful of his "choo-choos" (the word he uses for any vehicle - car, truck, actual choo-choo - they are all "choo-choos" to Carter. Heartbreakingly cute.) outside and we drove them around in the grass. He kept getting grass on his hands and then proclaiming it "duh-ty" (dirty) and throwing handfuls of grass to the ground, only to then look for the grass he had just thrown. I swear he was trying to reattach the individual blades of grass to their rightful spots in the yard. Oh how this boy makes me laugh. The smiles on both of our faces couldn't have been bigger.
I want to remember this day forever. Me and my son. Sometimes I still can't believe that I have a boy. I was such a "girl" mom before Carter came along, and he has just completely changed my whole world. I love being with him, and I am pretty sure the feeling is mutual. Here's to many more afternoons filled with pebbles, choo-choos, digging in the dirt, belly laughs and grimy kisses. I can't wait to see what comes next.
Monday, October 18, 2010
Halloween Tablescape - Lindsey's Party Part Two
Thanks to all who left me such sweet comments on my last post! I am just tickled to pieces whenever someone comments on my blog. I get super excited because in my mind nobody reads this blog except for me and Emily! Ha! So really - thank you!
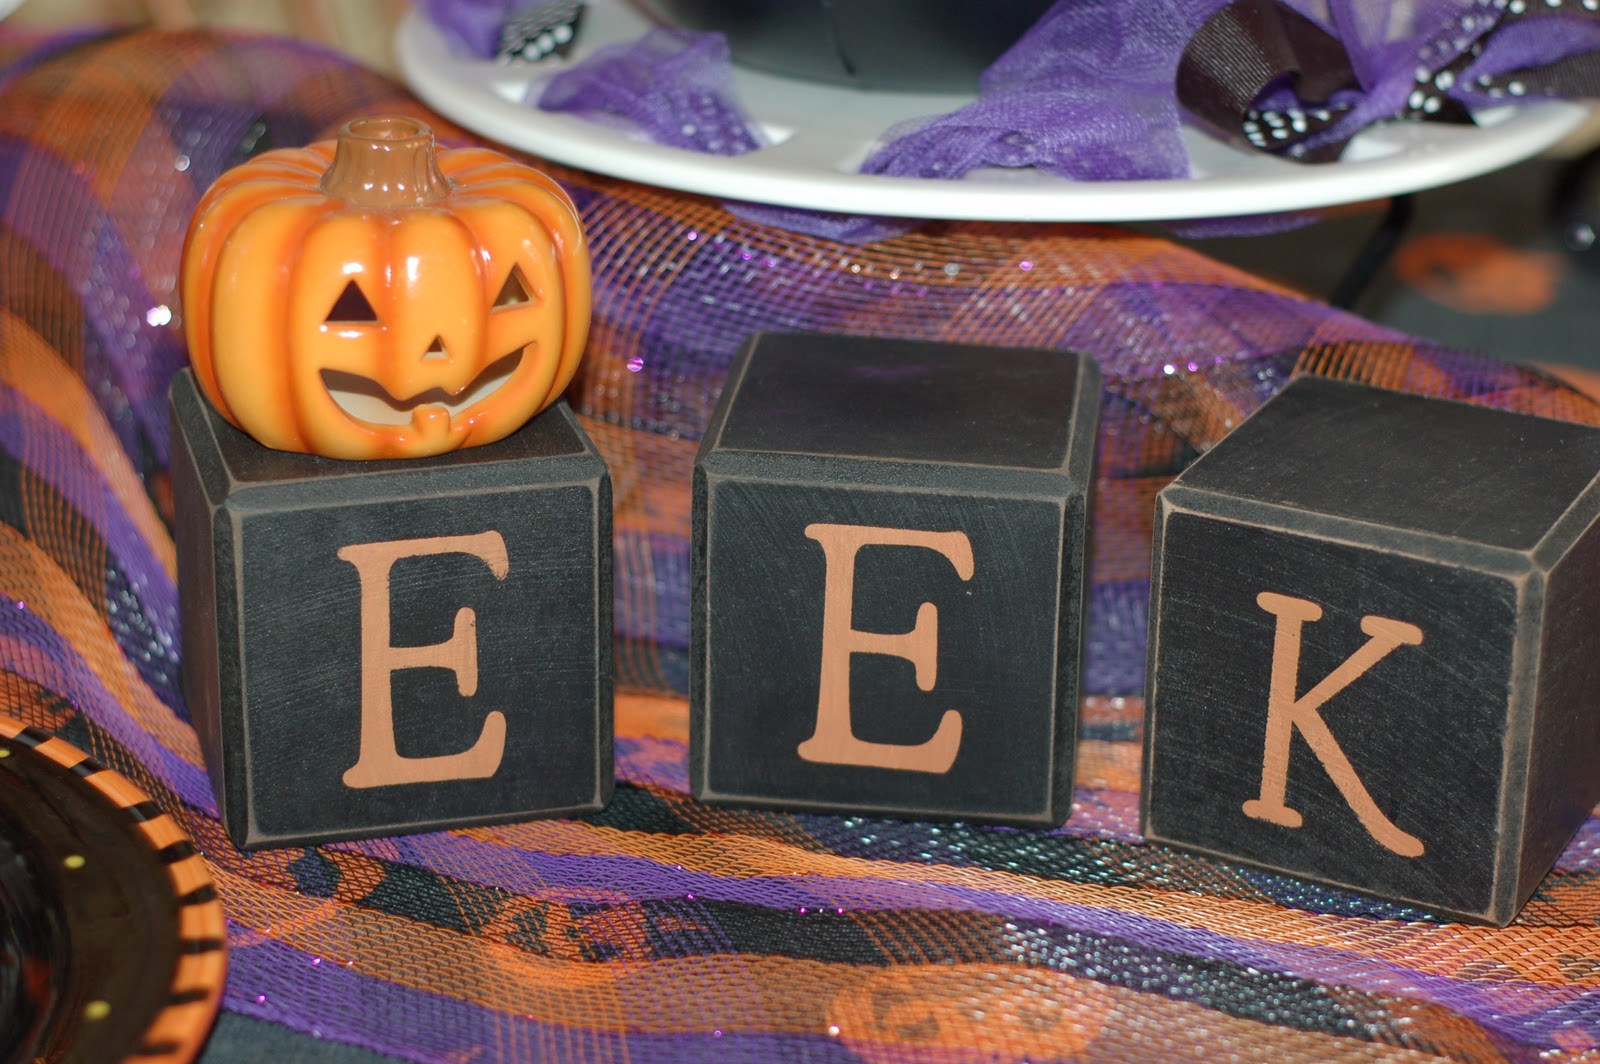
I thought I'd share a little more from Lindsey's Halloween birthday party. As I posted before, I had a sweets table set up in the kitchen that was sort of vintage Halloween-themed. I decided to make the dining room table a little spookier since that's what Lindsey asked for. Without too much talking, here are some pictures of what I came up with.
The view from the entrance hall:
Another view:
There was lots more to this party, but I'm so behind on blogging about other things I'll have to leave it at this. I'd love to hear your thoughts on my little tablescape =) Thanks for looking!
I thought I'd share a little more from Lindsey's Halloween birthday party. As I posted before, I had a sweets table set up in the kitchen that was sort of vintage Halloween-themed. I decided to make the dining room table a little spookier since that's what Lindsey asked for. Without too much talking, here are some pictures of what I came up with.
The view from the entrance hall:
Another view:
My easy centerpiece consisted of a glass vessel, sticks from the yard painted black stuck down into candy corn and dollar store crows.
Glittery skeleton heads were also purchased at the dollar store. The spiderweb tablecloth and black jeweled candles came from Michaels. I think all of the other stuff I already had in my Halloween stash.
I couldn't leave the hutch out, so I added a few spooky touches here and there. I am in love with the battery operated votive candles that you can find everywhere now - we had a bunch of them lit up all over the place. The little menu sign came from the Dollar Tree. Those darn spiders have scared me to death many times since I stuck them everywhere. I think I need to take them down - I have serious spider phobia (as well as most, if not all, other bugs - but that's another story altogether).
Another view (before I added my crows!). I posted a tutorial on how I made the cute napkin rings here.
My mom bought me these creepy little mice - they were really cute!
There was lots more to this party, but I'm so behind on blogging about other things I'll have to leave it at this. I'd love to hear your thoughts on my little tablescape =) Thanks for looking!
Monday, October 11, 2010
A SpOokY Treat Table!
My sweet Lindsey, the one who was JUST two years old it seems, is unbelievably turning TWELVE this week. This mama can't believe her first baby is so grown up. As the years have passed, Lindsey has grown into a sweet, loving, generous, hardworking, talented young lady. I couldn't be more proud to be her mom!
This year she requested a SPOOKY birthday party, and I was happy to oblige! I created this party for very little money, using mostly things I had already, or things that were purchased at the dollar store or other discount store. I decided to create two tables - one that was decidedly SCARY and one that was more vintage and cute. Per Lindsey's request, nothing could be too "babyish!" I was really happy with how everything turned out, and even got a bunch of compliments from the "tween" crowd who came to the party. Score one for Mom! Most importantly, Lindsey loved everything.
First up - my BEAUTIFUL daughter, Lindsey Rebecca. Thank you, GOD, for this girl.
I'm going to split this up into two posts - first up, the "vintage" Halloween treat table!
Cupcakes were made from a mix, with homemade buttercream icing on some, and Wilton "striped" icing on others (it was super hard to use, but cute). I was a bit disturbed that the "bones" sprinkles I bought at Target appeared to have pretend blood on them - haha! The kids liked them, though. I'm still getting used to tween-agers! My mom made the CUTE sugar cookies, and all other treats were "semi-homemade" - Double Stuff Oreo Cakesters rolled in Halloween sprinkles, Reese's Cups with "monogrammed" L's on them, and lots and lots of CaNDy!!!!
Next up, I'll be sharing more party details, including a downright eERiE-looking dining room tablescape! EEK!!!! Be sure to come back...if you DARE!!!
Sharing at:


This year she requested a SPOOKY birthday party, and I was happy to oblige! I created this party for very little money, using mostly things I had already, or things that were purchased at the dollar store or other discount store. I decided to create two tables - one that was decidedly SCARY and one that was more vintage and cute. Per Lindsey's request, nothing could be too "babyish!" I was really happy with how everything turned out, and even got a bunch of compliments from the "tween" crowd who came to the party. Score one for Mom! Most importantly, Lindsey loved everything.
First up - my BEAUTIFUL daughter, Lindsey Rebecca. Thank you, GOD, for this girl.
I'm going to split this up into two posts - first up, the "vintage" Halloween treat table!
Cupcakes were made from a mix, with homemade buttercream icing on some, and Wilton "striped" icing on others (it was super hard to use, but cute). I was a bit disturbed that the "bones" sprinkles I bought at Target appeared to have pretend blood on them - haha! The kids liked them, though. I'm still getting used to tween-agers! My mom made the CUTE sugar cookies, and all other treats were "semi-homemade" - Double Stuff Oreo Cakesters rolled in Halloween sprinkles, Reese's Cups with "monogrammed" L's on them, and lots and lots of CaNDy!!!!
This AdORabLe banner came from WalMart, and was only $2.50! I'm thinking of glittering it a little bit for future use, but even as it is it's just perfect!
Using things I already had - FREE!
I made these little witch books by covering books from my bookcase with plain brown paper and scrapbook paper I had on hand. I inked the edges and stuck on a few embellishments - super cute, I think. The tablecloth came from Target. My personal review of it - it STUNK! Literally, it smelled TERRIBLE! I washed it before we used it, and it faded pretty badly. My mom said it just made it look more vintage, so I just went with it. The mesh was leftover from this project.
More Halloween cones - I posted about these here - these were the favors, filled with lots of Halloween-y treats! My mom came over one afternoon and we made them - they were all different. So much fun to make.
My little Pumpkin Head man - I made him using this tutorial - easy and cute (despite the strange look my hubby gave me when he saw him. He doesn't get some things.)
This is my mom's tree that I borrowed - she was selling this stick tree (formerly a brown Christmas decoration) at a garage sale, and I told her she should spray it black and hang Halloween stuff on it. Look how CUTE she made it!!! Love this.
I got the cute little spider at the Dollar Tree, the polka dot crepe paper at Party City and had the purple tulle and orange crepe paper already in my stash. I think the Jack-o-Lantern garland came from JoAnn's.
Funny side note - we had a washer/dryer repair man here on Friday afternoon, and while he was here I was busy hanging all of this stuff above the windows and decorating the table. He walked in and gave me sort of a funny look and said, "You must REALLY like Halloween, huh?"
If only he knew - haha! Glad he doesn't read my blog, otherwise he would think I am certifiable =)
PuRpLE glitter makes EVERYTHING cute, dontcha think???
Next up, I'll be sharing more party details, including a downright eERiE-looking dining room tablescape! EEK!!!! Be sure to come back...if you DARE!!!
Sharing at:


Friday, October 1, 2010
Is There a Twelve Step Program For This???
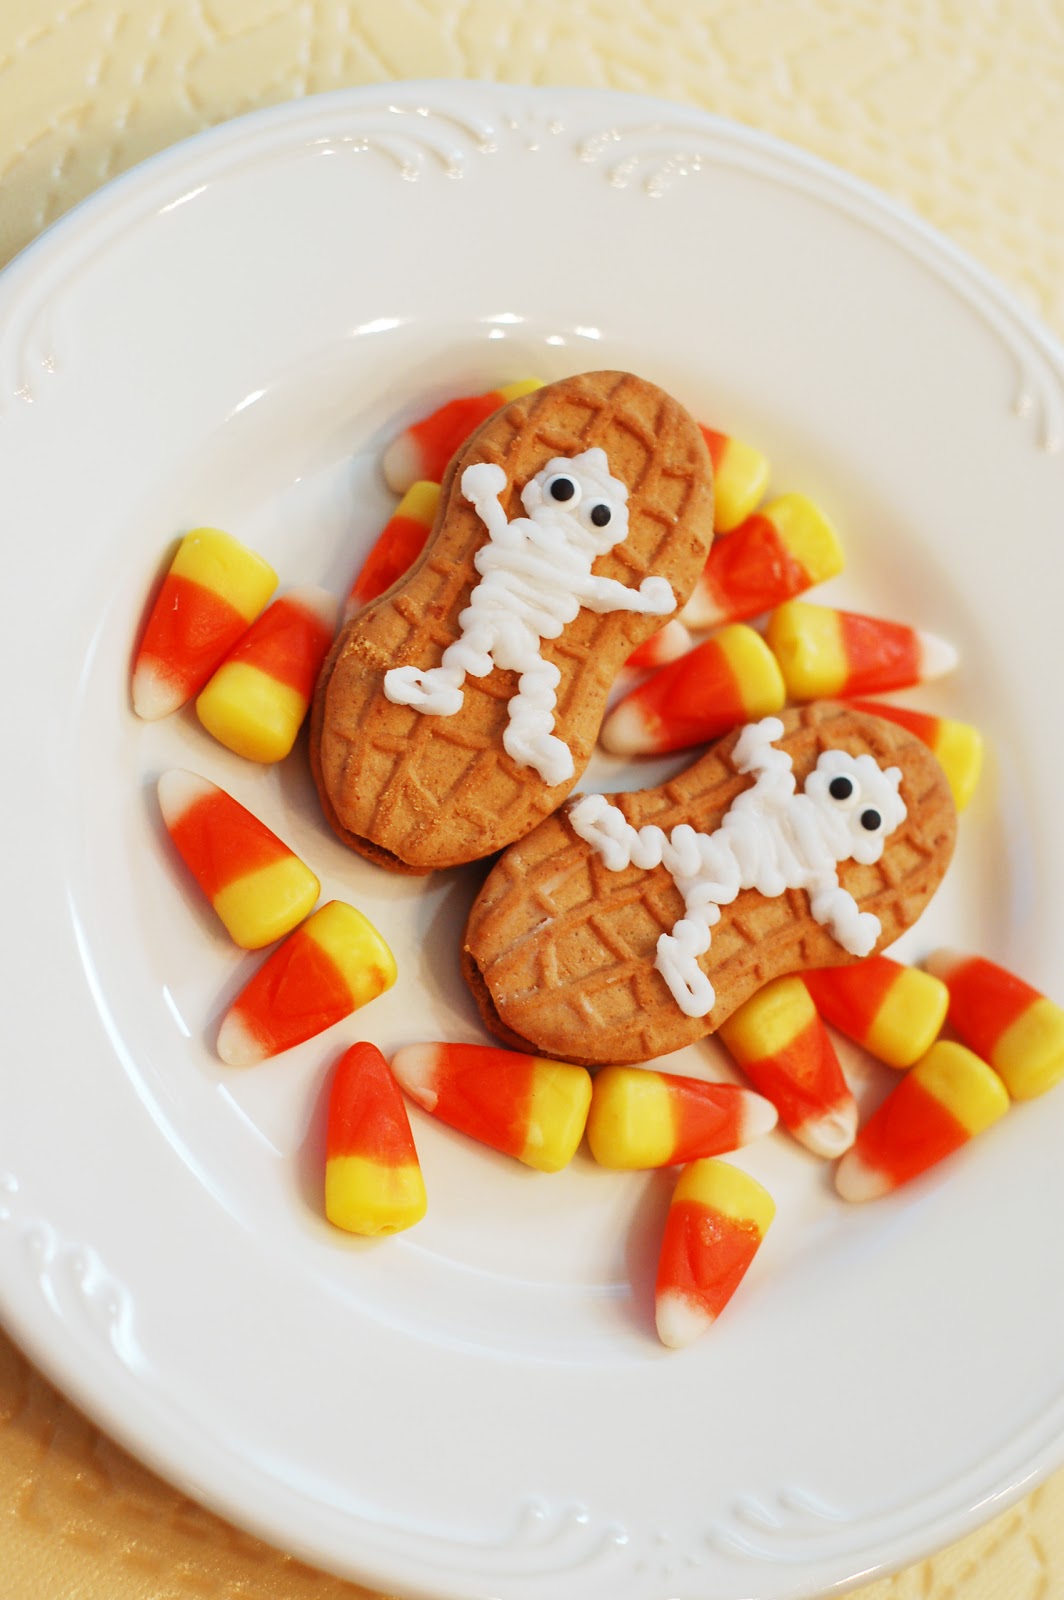
If so, I need one. Meet Lindsey and her friend's after school snack for today. Plain Nutter Butters just would not do - I had to add a mummy!
I.need.help!!!!
Sharing here:
I.need.help!!!!
Sharing here:
Thursday, September 30, 2010
Halloween Trick or Treat Wreath
It's me again! With more Halloween! I know ya'll think I'm crazy, and I'd be inclined to agree with you. However, I can't resist sharing this cute wreath I just made. After I drug Carter to Hobby Lobby to get the wreath form (around $3.50), I had this thing made in less than an hour during naptime. It was that easy! I'm not going to do a full tutorial since I didn't take "in progress" pictures, but I'll tell you really quickly what I did.
If you make a wreath, I would LOVE to see a picture of it!
Sharing at:


First, you are going to need the mesh stuff - it is called "Poly Deco Mesh" and is hard to find for me locally (Hobby Lobby carries some in Christmas colors, but it is very limited). I ordered mine online from http://www.mardigrasoutlet.com/. It's around $10 a roll, so it's kind of expensive. I have some of the roll left, but I'm not sure if I have enough to make another wreath - I'm hoping I do. You will also need wire or ribbon to attach the mesh, a wreath form, and any embellishments you wish to add. I found the sparkly Trick or Treat sign at the Dollar Tree, and I made the ghost (more on him later). The wreath form I bought was wire, but in hindsight I think I would have bought a grapevine wreath and spraypainted it black. The mesh doesn't do a very good job of hiding the wreath form, so I had to first wrap my metal form with black tulle. Next, I started adding strips of the mesh. It is very forgiving, so just put it on there how you like it. I tied my pieces on with black tulle, but you could use ribbon or wire. Once I had my mesh on, I just hung the little sign in the middle by tying it underneath the back of the wreath, and then added my little ghost (wiring him on). I made him using a white styrofoam ball (side note - WHY is styrofoam so expensive!?!?!?) and some cheesecloth - I just tied some purple tulle around his neck. I hot glued some buttons on for eyes, and he was done! I won't tell you how long I was messing with him to make him look like an actual ghost, because it's an embarassing amount of time. Suffice it to say - I have issues.
Once he was attached, I was done! I would have liked to have added maybe a few more little embellishments, but with the mesh being so "busy" I didn't want to get too out of control.
If you make a wreath, I would LOVE to see a picture of it!
Sharing at:


Friday, September 24, 2010
Halloween Shirts
I have always loved the look of "boutique" and custom clothes for my kids. In the not too distant past, I used to always purchase each of them a custom made shirt or outfit for each holiday. However, with trying to be a little a lot more frugal lately, I've had to resort to making them myself! My first handmade shirt was Carter's birthday shirt (you can see that here). For his shirt, I cut and attached the circle and the number 1, and then with my mom's help I sewed both on. (For a GREAT tutorial on how to do this, visit my friend Jessica's blog - she will show you step by step how to make your own custom shirt.)
We are visiting a pumpkin patch tomorrow, so I needed to make some cute shirts for Emily and Carter quickly (Lindsey is way past wearing cutesy custom shirts - so sad but true). I found some images online that I liked, cut them out, traced them onto some Heat n Bond, and then followed the instructions to attach them to the shirts (I couldn't find Carter a short sleeved shirt, and it is still super hot here, so I had to use a shirt he already had). I purchased a $4 tshirt for Emily, and I had all of the fabrics already. So, my total cost for BOTH shirts was $4! Not bad! My mom was kind enough to stitch around them using her sewing machine (thanks Mom!). I used layered buttons for their eyes. Also, for Emily's shirt, I added a few little embellishments to the bottom corner for some extra cuteness (kind of hard to see in the pictures, but there are is a little yo-yo and some cute buttons sewn on).
Here's how they turned out:
And I had to add this picture of my pretty Lindsey, even though she isn't wearing a "Mom-made" shirt - at least she wore a headband I made!
From start to finish, I think these shirts took around 2 hours to make. I did everything but the sewing part during Carter's nap! Easy and cute!
They will be wearing their shirts to the pumpkin patch tomorrow - pictures from that adventure coming soon!!!
Subscribe to:
Posts (Atom)